Rustic Sawed Plank Re-Claimed Oiled Pine Beauty

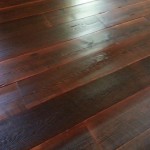
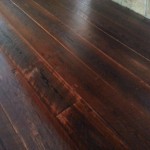
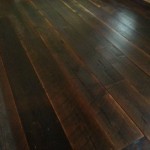
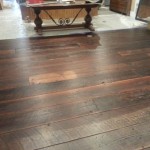
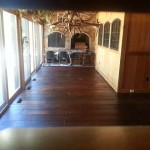
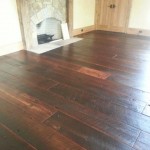
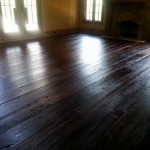
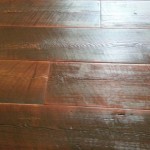
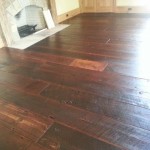
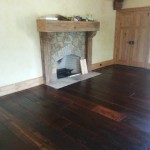
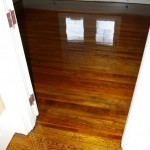
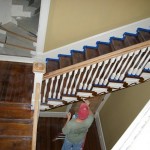
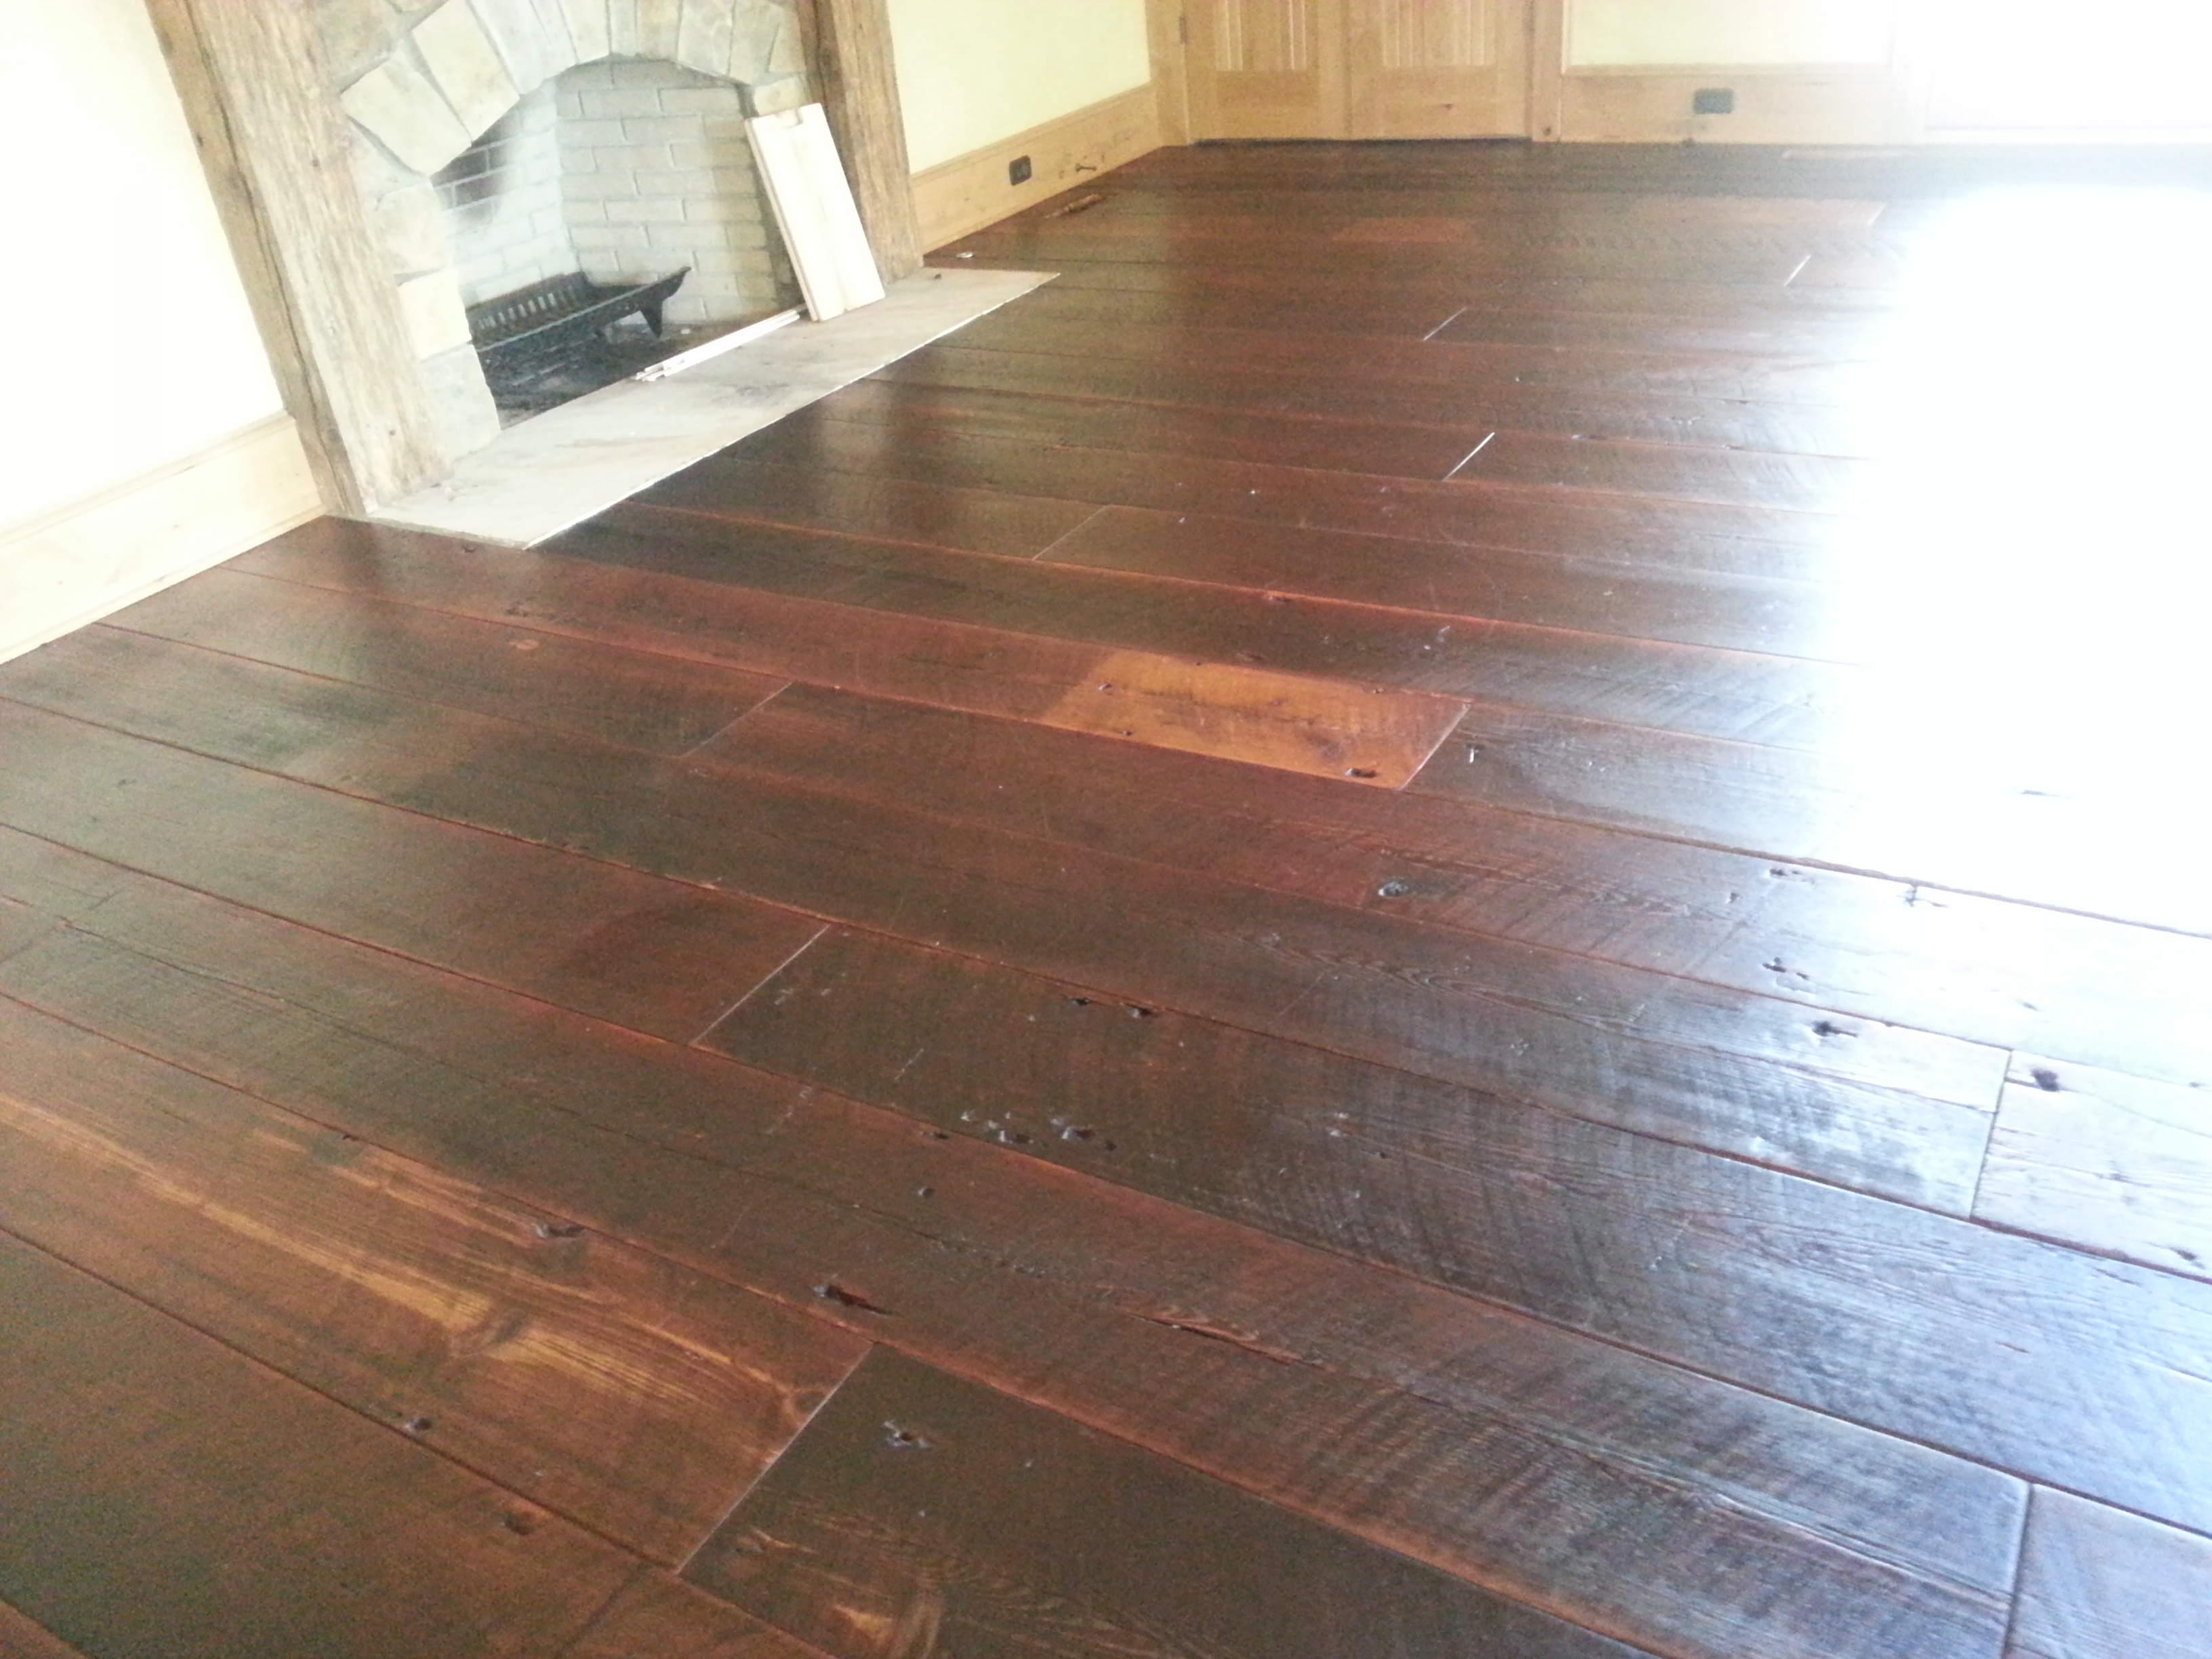
We recently re-oiled a beautiful re-claimed 12 inch wide sawed pine plank floor in Conway.   This home was built about 12 years ago and has one of the most unique floors that we’ve seen.   The floor was 2700 Square Feet of re-claimed heart pine planks that had been re-claimed from an old factory that was torn down near St. Louis, Missouri.  The original planks were about 2 inches thick, and they were sawed in half, but the original flooring company milled the planks where the old side was used as flooring to retain the old patina.

20130508_134857

We contacted the original flooring company who installed and finished the floor, who was actually (and still is) located in Wisconsin, and did some research on how the floor was originally finished.   This is something that you want to be absolutely sure about before you start putting a new finish down on a unique floor such as this!!!     This is obviously NOT and inexpensive floor.

20130508_115431

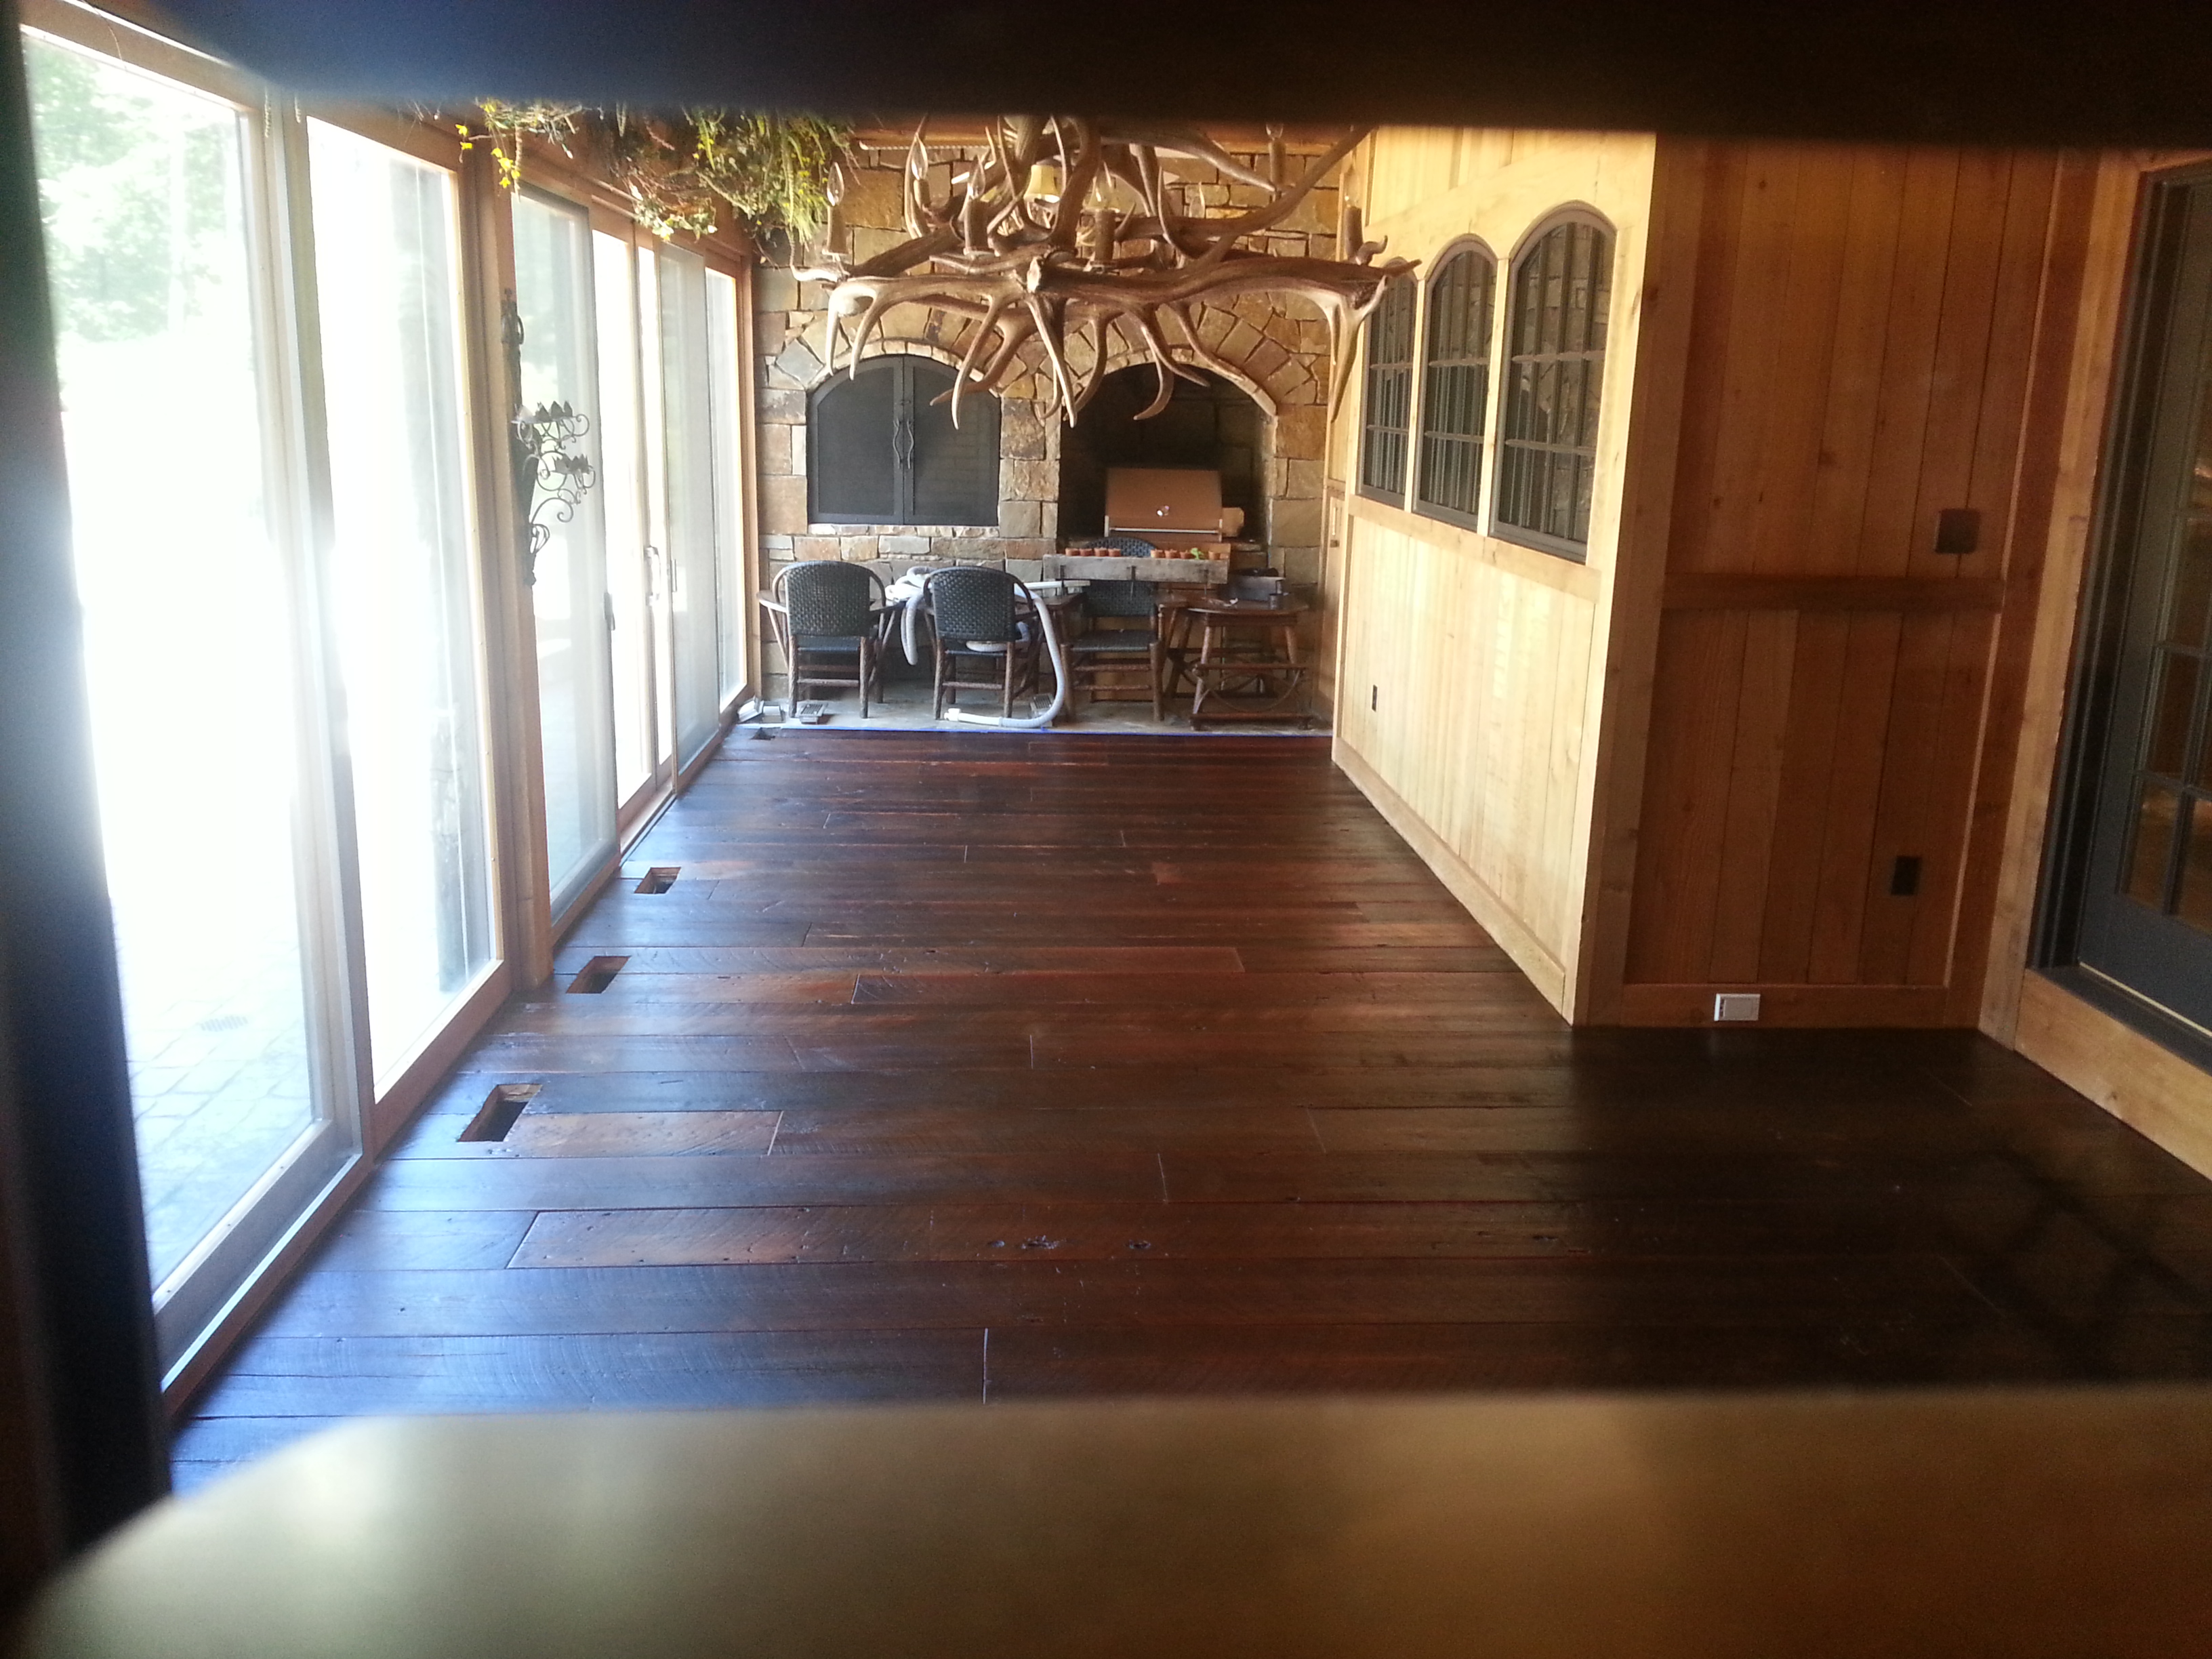
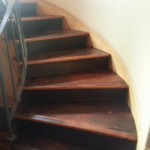
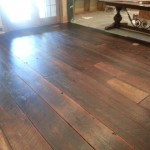
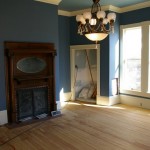
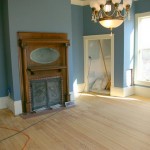
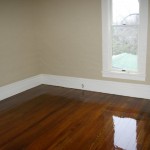
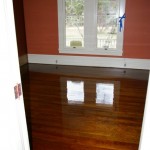
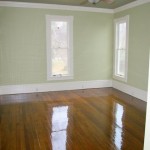
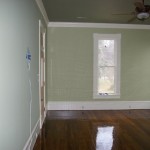
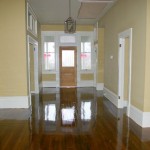
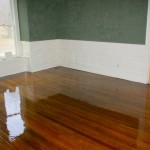
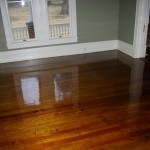
Even though the 12 year old floor had some wear, it was in surprisingly good shape in many areas.   We used the same oil as the original and gave the floor new life.  The re-oiling process brought back the depth, luster, and hid all but the deepest of scratches in the old pine floor.    I am really impressed with this product, in durability, application and ease of re-coating/repair, so we intend to start using more of this product on these types of rustic, distressed or hand-scraped floors in the future.

20130508_115337

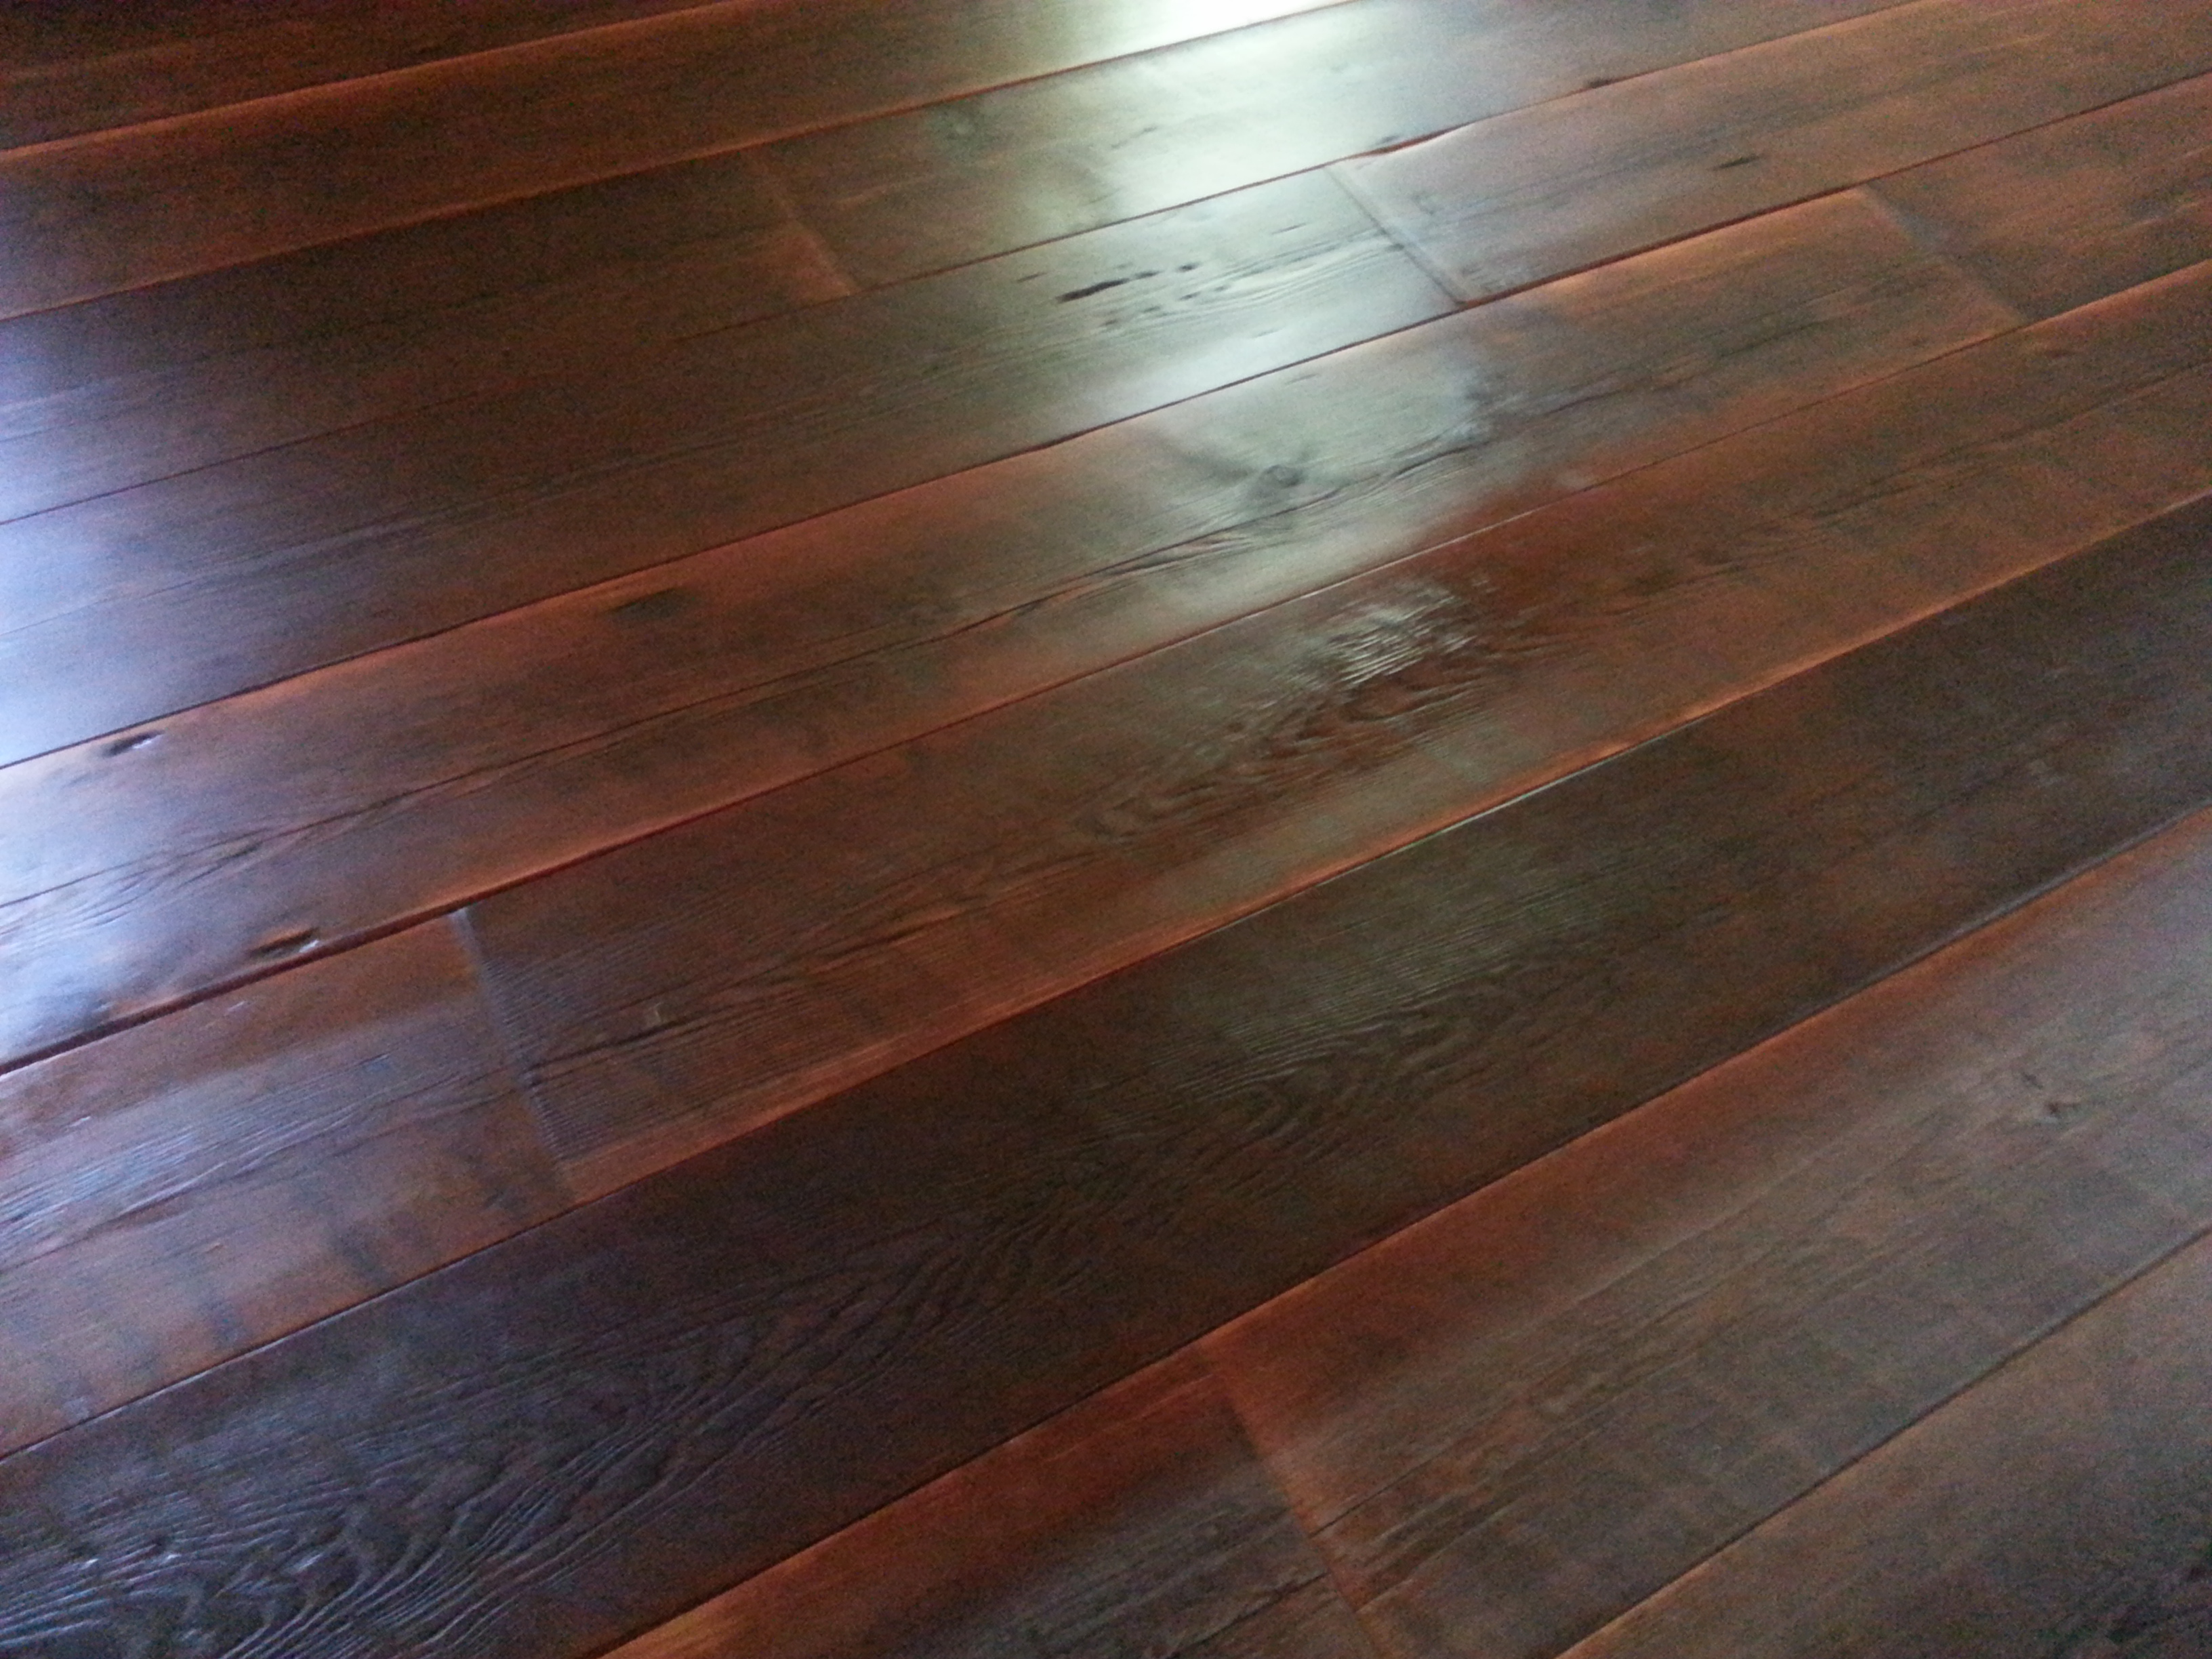
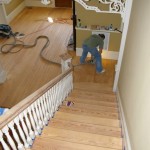
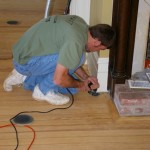
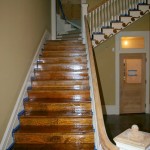
Sorry for the quality of these pictures, because they were taken from my camera phone.   I hope to get back into the house soon with my better camera and take some better photos after the new owners have moved in.


A lesson on how “NOT” to Sand and Finish a Wood Floor

We recently bid on a 1200 square foot flooring  project and were not chosen by the owner originally.   This does happen occasionally, but not too often as even though we aren’t the least expensive flooring installation and finishing company around, normally when everything is considered, quality, price, reputation, dust free sanding, etc.   Most clients who compare will find out the same thing that I believe, that we are the best value for every dollar spent on the floor.   This portfolio of  pictures will show you why.

We did not originally get to do this job, but after the first flooring contractor made a horrible mess of this wood floor, we were called by the owner to fix the problems.   This is not the first time this has happened, and because it happens more than I would like, I decided to show these pictures and tell this story.

I’ve been in this business for a long time, and I’ve seen a lot of very poor jobs over the years, some done by homeowners themselves when trying to save a few dollars by doing their own floor.  And most would say they would never repeat that process.   But in all these years, I don’t believe I’ve ever seen a floor in this bad of shape.   I really don’t see how someone could mess up a floor this bad, unless they were trying, and even then it would be difficult.  Especially someone who actually claims to be in the hardwood flooring business.

I would never name the flooring company who did this floor, because with work like this, I am sure they will be weeded out of the business very soon, and rightfully so.   This floor has about everything wrong with the sanding and finishing job that you could have wrong with one.  I’ll outline many of the problems that you will see when looking at the photos, and I’ve made notes on the photos so you can see tell what I’m showing you.

  1. Drum Sander Streaks – These can be caused by several different things, but are normally caused by either a bad sanding belt if a belt machine was used, or by a really bad place on the drum or a screw or nail in the drum if a drum machine was used.  There were literally hundreds of these streak marks in this floor, they were everywhere you looked.
  2. Planer Marks –  These are the original planer marks from the factory that were left on the floor.  These are places that a sander never touched the floor.  They show up as lines running across the boards, rather than longways.
  3. Edger Swirls – This is caused by the edger machine, the machine that is supposed to be used around the perimeter of the floor only to sand areas that cannot be sanded by the larger belt or drum machine.  These are normally sanded out by using a finish sander or hand sanding (we actually use a halogen light to look for these)  They are caused by using too rough a sandpaper on the edges also.   Funny thing about these, they were everywhere.  This original contractor used the edger in places they had no business using it.
  4. Puddles in the Finish –  There were puddles in the finish everywhere in this floor.  It looked to me that the finish was basically “slopped” on the floor with a mop.  Some place the puddles were nearly 1/8 inch thick!!!!  You would almost have to just pour the finish on the floor and leave it to get this.  I know, I couldn’t believe it either.
  5. Trash in the Finish –  When you site finish a floor, there is no way to get every single piece of trash out of the finish.  1 or 2 tiny pieces of trash in 1000 square feet is acceptable, and these can be easily picked out with a fingernail and repaired, but this floor had literally THOUSANDS of chunks of trash.   Almost looked like the trash had been thrown in the finish on purpose, but it wasn’t.   There was no vacuum system…..I don’t even believe the floor was swept before the stain and finish was applied.   It was really sad.

This portfolio has about 20 pictures of the “before” photos of this job.   We are currently working on this project and of course had to completely re-sand/refinish this floor down to bare wood.  As soon as the floor is finished, I will also post some “after” pictures.   The homeowners were getting very excited about moving into their brand new home, and now because of this original very poor floor sanding and finishing job, they will have to delay that for a couple weeks.

The moral of this story, please check out the contractor that does your work on your home.   It is real easy to check us out as we’ve got hundreds of happy customers, and you can see the quality of the work we do right on this website.  This “flooring contractor”  (and I use that term very loosely)  Did not have a website, and was basically just chosen on price.   Price is not the most important criteria for choosing a flooring contractor, as I believe you would have to agree by looking at these pictures.

Lee Walsh

I have left these pictures large on purpose so you can see the detail.  It may take some time for them to load with a slower connection.

Click on a picture below for a slide show of all the pictures.


100 Year Old Home – Pine Floor Refinish

These are pictures of one of the most unique homes that we have done.  This is a beautiful “Plantation Home” near Wynne, AR.   We refinished these floors and this set of Stairs back in 2007.  The floors were in amazingly good shape, even though the home had been neglected and even sitting empty for several years.   The floors were stained with Provincial Stain, and finished with Oil based Finish.  I hope to have some “moved in” pictures of this home soon.

Click on a picture below for a slide show.

Gym Repair and Refinish Project

Old Big Flat Gymnasium – Big Flat, Arkansas

This gym was built back in the 1930’s and had several years of water running underneath the floor which had rotted out the structure. The floor on one end had nearly collapsed. The builder was afraid that a whole 1/2 end of the gym would need replaced, but we salvaged about 2/3 of the bad end, laced in new floor and refinished the entire area. Not having to replace the rest of the floor saved several thousand dollars on the project.

Old Gym Floor Repair

Old Gym Floor Repair

Laying out the Lines

Repaired and Refinished

Finished and Ready for Play


Refinished 60 Year Old Pine Floor

Plus other Refinish Examples


The top 4 pictures in this series are of an old pine floor that we re-finished and brought back to life.   Usually if the floor hasn’t been re-sanded several times, and unless it has just been destroyed, we can do a complete refinish and bring a floor back to “almost new” condition.   We normally don’t fill the cracks on floors like these, because usually old pine floors have quite a bit of “movement” which is just a characteristic of old floors.  Filling the cracks would be counter productive as in a year or two, the filler would work out of the cracks as the boards move, causing an undesirable look.  Normally it is just best to leave the cracks the way they are, as these are a common feature of old pine floors, as you can see by these pictures.

Old Pine Floor Refinishing

60 Year Old Pine floor under years of varnish and wax

Same Old Pine Floor after Refinishing

Old Pine Floor after Refinishing

This is a 50 year old Oak floor, with before and after Photos.   The finish was nearly completely worn off of this old floor, but the floor was in perfect shape under dirt and grime which had worked into the very top layer of wood.   This was a dramatic difference.

Worn out oak floor, Needed refinishing years ago

The same Red Oak Floor, after Refinishing

The pictures below are of an approximately 25 year old, 3 inch  #1 Red Oak Floor that had seen better days.   After Refinishing and staining with “Nutmeg” color stain, the floor looks brand new.

Worn out 3 inch #1 Red Oak Floor

The same old floor, refinished and stained with Nutmeg color stain